
Docs
Getting started
Get from invite to a working HawkSel workspace: accept access, learn the chrome, and finish onboarding before customer traffic ramps up.
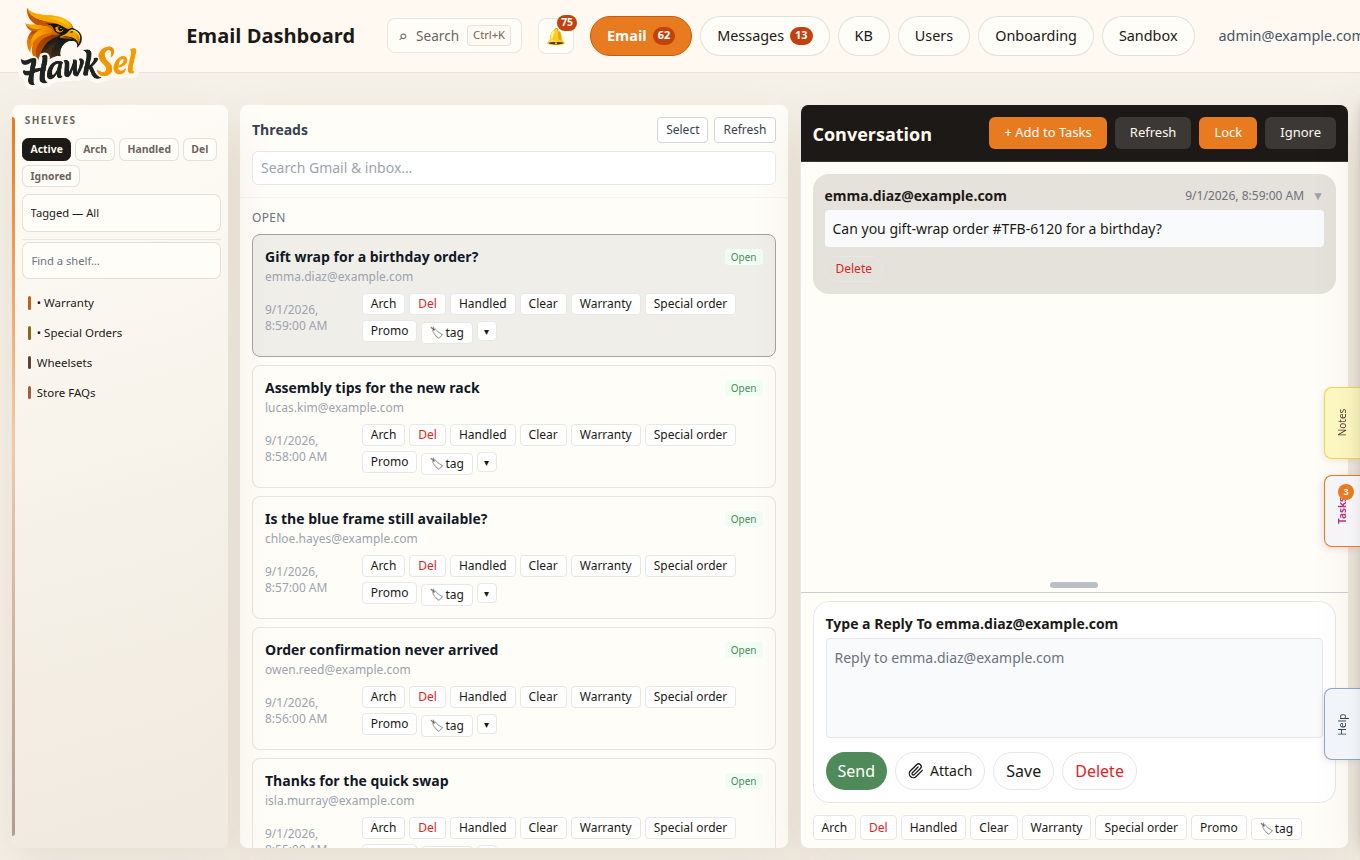
The Email workspace: Shelves on the left, thread list in the center, and the Help edge tab on the right.
Accept an invite
- Open the invite email from your organization admin.
- Click the invite link (it expires for security — ask for a resend if needed).
- Set a password and confirm it.
- You land in the HawkSel dashboard for that organization.
First login
- Open your dashboard URL (production: hawksel.com/dashboard).
- Sign in with the email and password you set.
- Use the top navigation:
- Email — customer email inbox
- Messages — SMS conversations (when enabled for your org)
- KB / Knowledge Base — agent knowledge
- More — Onboarding, Sandbox, Settings, Users, Logout, and more
Compact labels appear on smaller screens (for example Email Dashboard → Email, Sandbox Chat → Sandbox).
Onboarding checklist
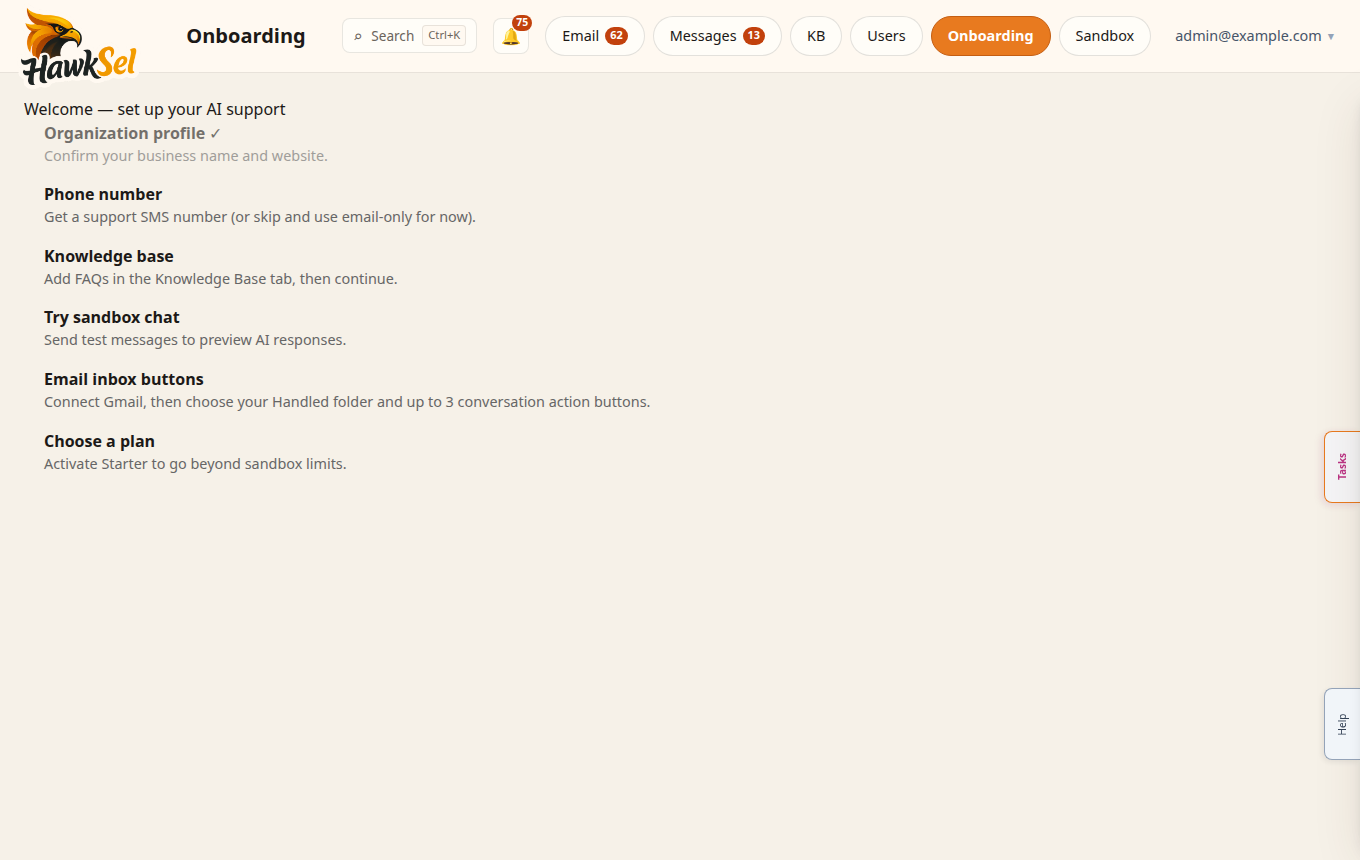
Admins open Onboarding from the top nav or More → Onboarding. Complete each step:
| Step | What you do |
|---|---|
| 1. Org profile | Business name and basics customers should recognize |
| 2. Phone number | Provision or connect an SMS-capable number |
| 3. KB upload | Seed FAQs so the agent can answer common questions |
| 4. Sandbox test | Rehearse replies in Sandbox without messaging customers |
| 5. Email actions | Configure inbox buttons (Arch, Handled, etc.) for your workflow |
| 6. Billing | Connect Stripe or Shopify billing when you leave trial limits |
You can reopen Onboarding anytime from More → Onboarding.
Find help anytime
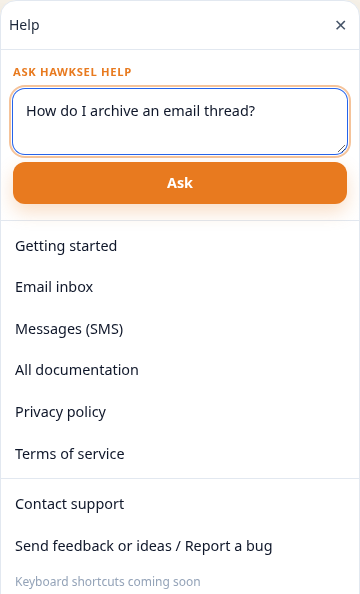
Ask a natural-language question in Help; answers are grounded in these product docs and are not billed to your organization.
- Look for the vertical Help tab on the right edge of the dashboard (near the bottom).
- Click it to open docs links, Ask HawkSel Help, contact support, and feedback.
- On mobile, open More → Help.
Next reads
- Email inbox — Shelves, filters, and thread actions
- Sandbox — safe agent testing
- Settings — agent, integrations, and billing